One of the things I’m going to have to do is be able to look at my old project in order to incorperate things I especially liked into WordPress. Among them are my Clock In system, Fractals. Now This isn’t just a two step process since most of my experimental work is on the server (which is bad mkay [your [production site should never be your experimental area {but for every rule there are exceptions}]) as a result I have to do a few things….
- Setup a local server
- Import all my files into the server
- Import my SQL database into the server
- Do little things to make sure everything is in proper working condition
Setting Up my Local Server
Setting up a local server can be done in a few ways. As I’m on windows, things become like cake. I’ve also done this on linux, and for what its worth, there is plenty of documentation out there to do it. For my purposes, I like to avoid ISS. The reason for this is I found it previously to have a bad user interface. What I’ve enjoyed in the past is Xampp.
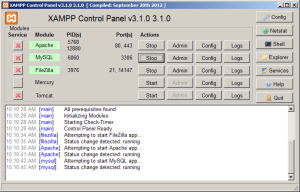
Its a simple Install, It works, and Easily accessible. Theres not much else you can ask for from a service, or anything really.
Now, I don’t want to turn this into a tutorial but more of a general description of my experience. Nonetheless, Due to the nature of this, Its going to be one and I’m aware of that.
Importing All My Files
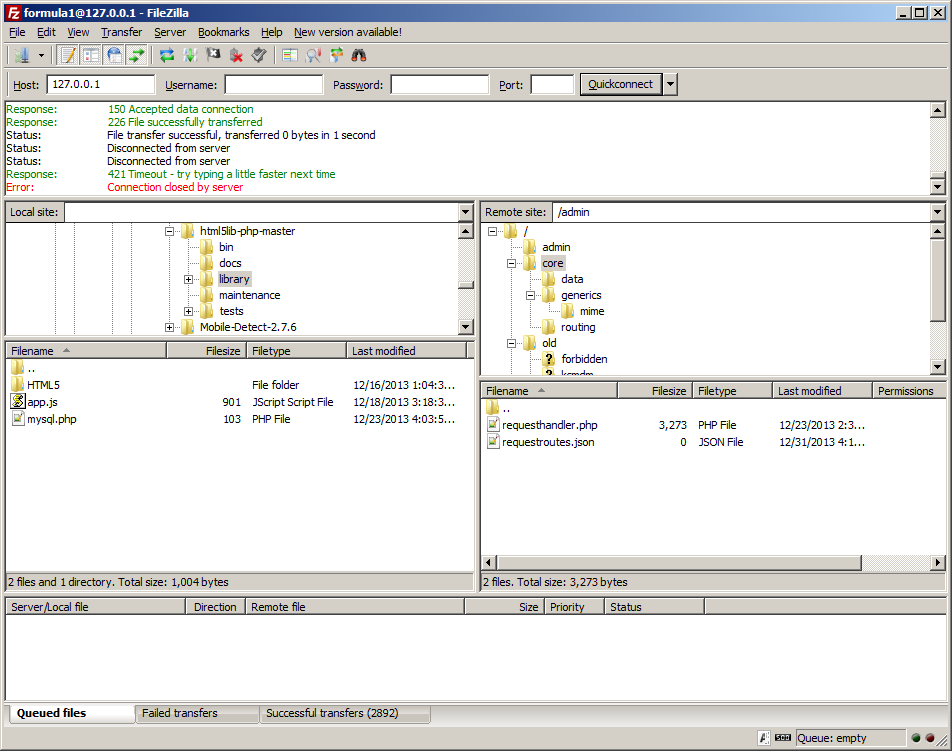
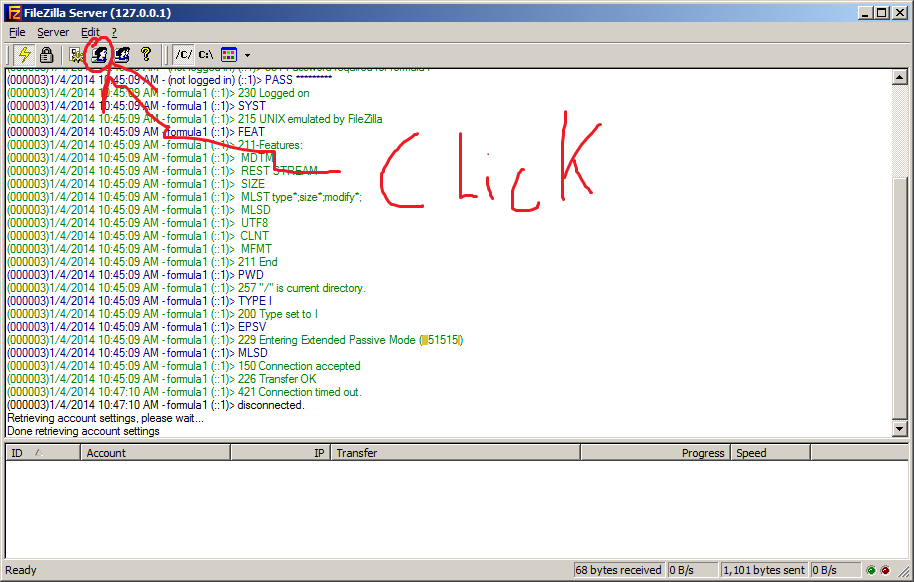
Now, I already have Filezilla installed because its near the best ftp (file transfer protocol) experience I’ve had. but just for giggles I’ll show you another cute little trick
Whenever you have any folder open in windows, you can change the path to be “ftp://your-web-server” and you will have an easy to use method of accessing your webservers files. Now I am using filezilla currently, but I should be using a revision control system such as Mecurial, tortoise or even Github. I’ll definitely say I learned my lesson about version control over the last couple months.
If your going to be installing FileZilla like I’m using, remember to install the client version. The Server is quite literally for servers (I’ll go over that on another topic), its meant to be able to receive FTP calls, not make them. Servers are listeners not talkers.
After you’ve installed, got Xampp and FileZilla installed, We want to do a few things….
- Figure out what our hosts ip address is
- Create an FTP user so we can access our files
- Login
Our Ip address will be localhost.
There are other ways to figure it out like understanding what our ip address is to ourselves. but when it comes down to it, localhost is the clean and simple way.
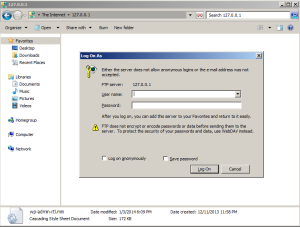
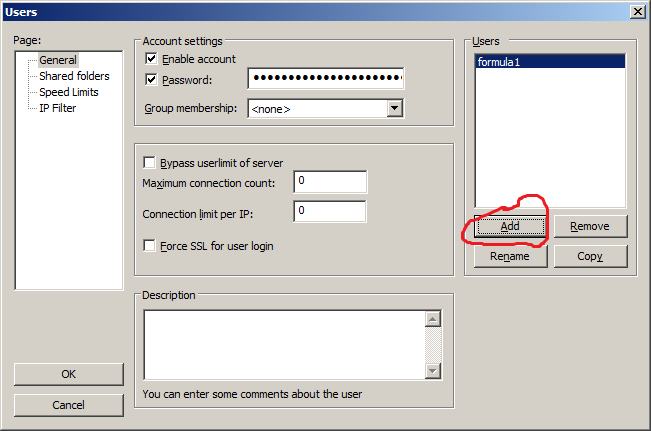
Creating an FTP user
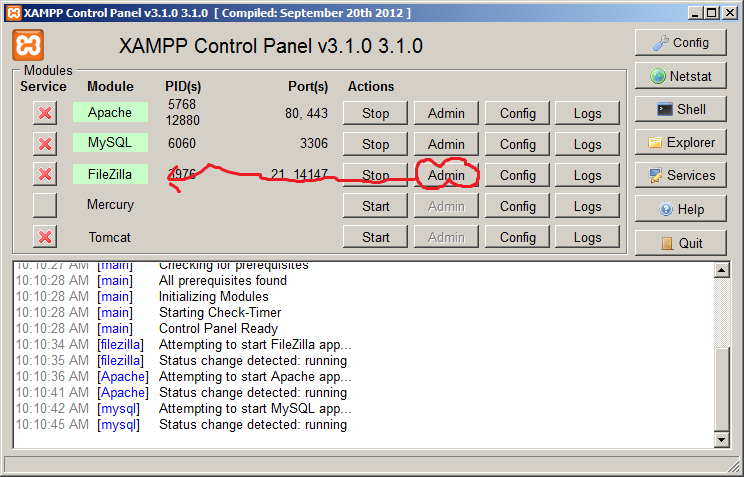
On the Xampp Panel, you want to click “admin” for the FileZilla Section
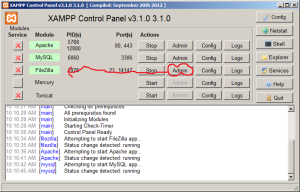
From there we open up our admin menu and go to user accounts
 Then we add our user
 Simple as that
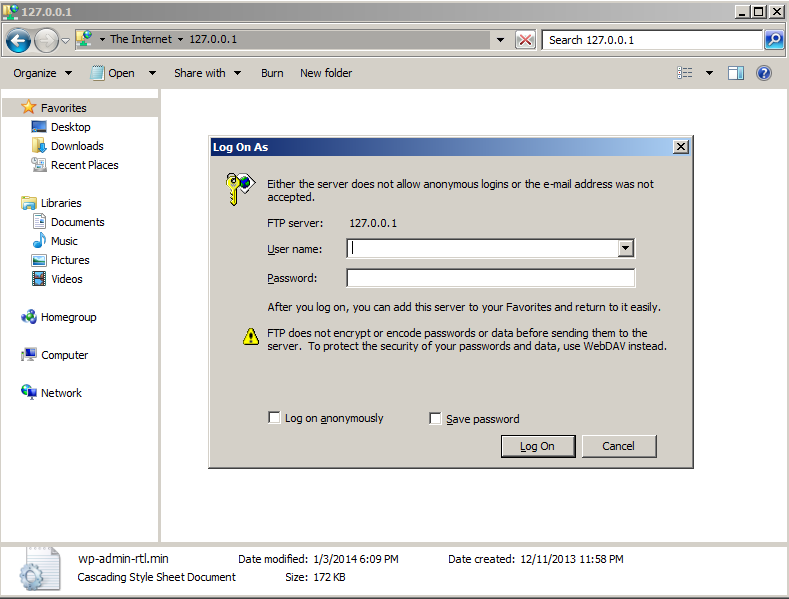
Back to our Filezilla client

Up top, we want Localhost, Username, Password, Go!
You can also save, but I don’t need to worry about that right now.
From there I connected to my old server, dropped all my stuff in the htdocs folder of my local server, which is located directly under your xampp root.
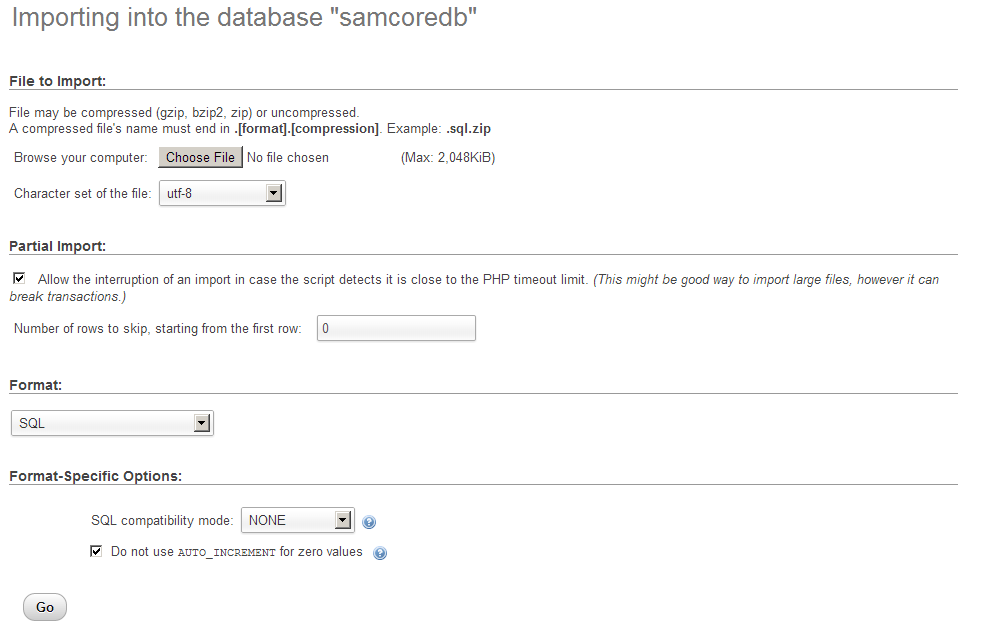
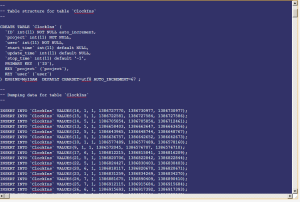
Import my SQL database into the server
This is a pretty simple process. You’re going to want to go to your original sites SQL admin page. Go to export, save the text file. Then go to your local page go to import and choose the text file.


Making Sure Things are working Properly
This changes from system to system. For me This is completely custom and as much as I’d love to show how the system works. More importantly I’d just like to get it overwith. see you tomarrow! 🙂

 S
S